Ultrasonic Parts Cleaning – Carburetors, etc
Ultrasonic cleaners solve problems
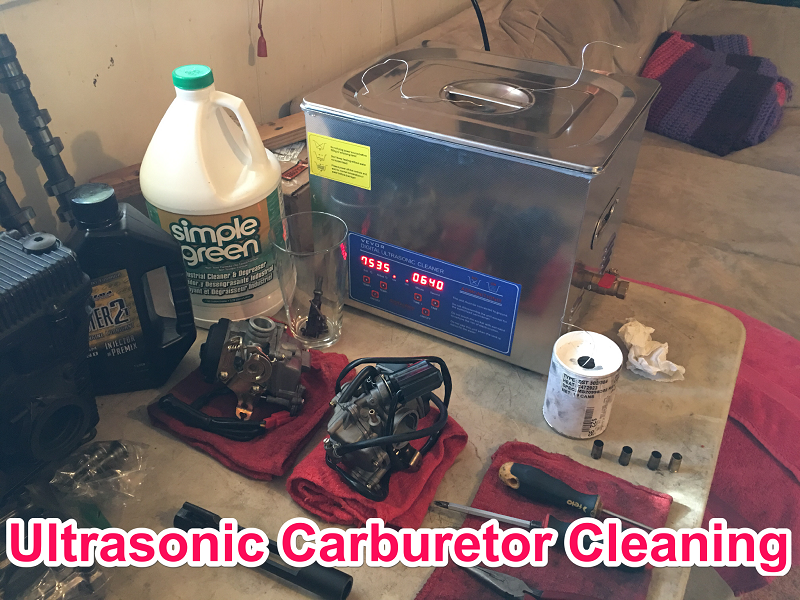
Every once in a while, I run into a carburetor that won’t work properly no matter how much time I spend on it with solvents, compressed air, and small-diameter wire.
The solution to this problem is to clean all of the parts, including the carburetor body, in an ultrasonic cleaner.
How does it work?
Ultrasonic cleaners work by sending high-frequency sound waves through a tank of solution. The sound waves cause a process called cavitation to occur in the solution.
When cavitation occurs, tiny bubbles implode against the surfaces that need to be cleaned.

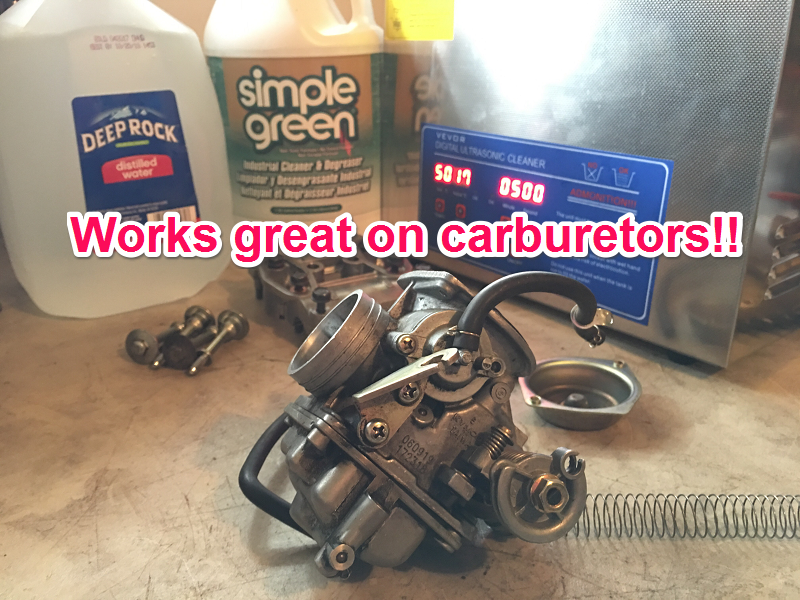
Ultrasonic cleaners work really well on carburetors.
They also work well on transmission parts, engine parts, basically anything that will fit in the tank. The tank on my cleaner measures 12″ x 9″ x 6″, which is large enough for most single carburetors and even racks of four carburetors, if I un-gang them first.
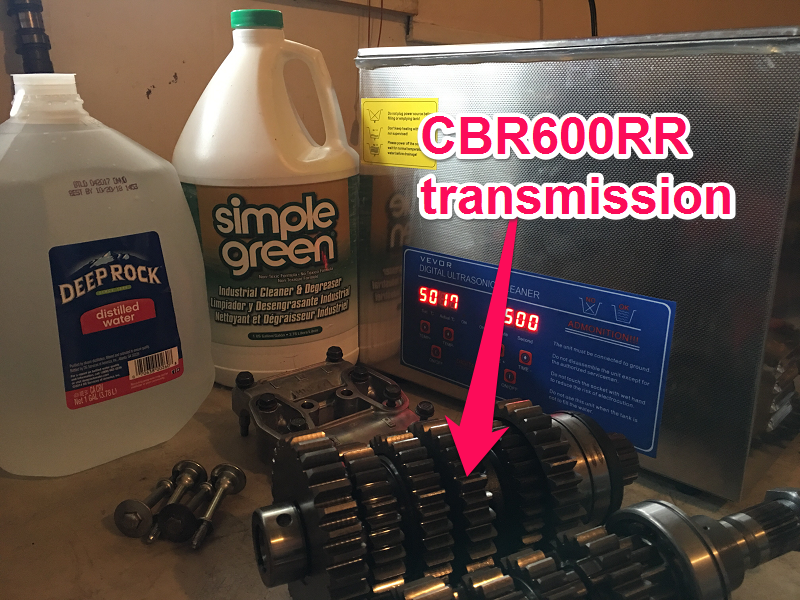
Four racks of carburetors may also be cleaned one half at a time, if left assembled.
Testing the ultrasonic cleaner
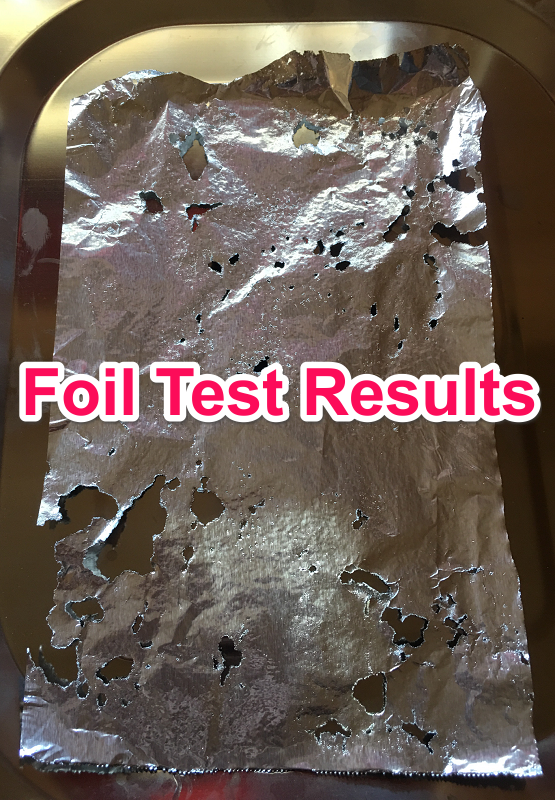
A good way to test a new ultrasonic cleaner is to drop a piece of aluminum foil in it for 5 minutes.
The imploding bubbles of cavitation (horrible name for a band) should perforate and tear the tin foil.
I did the test on my cleaner, and this is how the tin foil turned out:
Before and after, the results of using an ultrasonic cleaner
It is not uncommon to have a carburetor that by all accounts seems clean, has clean jets, even looks clean on its visible surfaces, but fails to result in a good-running bike after installation.
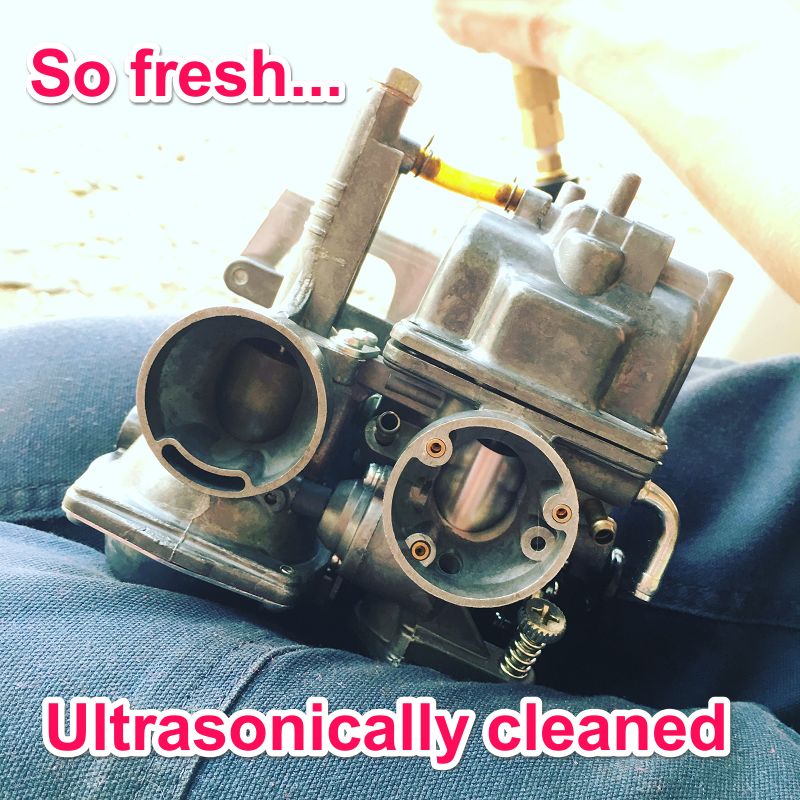
After 30 minutes in an ultrasonic cleaner, that same carburetor results in a perfectly running bike that responds to minute adjustments of its idle and mixture screws.
Worn-out, corroded, or damaged parts must be replaced, of course. Ultrasonic cleaners don’t “magically” make old parts new again. They simply make the parts as clean as they can be, so that they work properly.
Edge cases and caveats
There are some exceptions.
The ultrasonic cleaner is not sorcery by another name.
Sometimes the carburetor just won’t make the bike run right, even after it has spent some time in the ultrasonic cleaner.
Sometimes that’s because it’s missing parts or someone assembled it incorrectly.
This is why I double and even triple check my work when problems crop up. Sometimes this checking and re-checking process takes time but it’s the only thing I can do to ensure that my work is not the source of a problem.
In rare instances, you will need to replace your carburetor(s)
In some cases, a new carburetor is necessary.
Then why not start out with a new carburetor? Wouldn’t that save a lot of hassling with ultrasonic cleaners, solvents, compressed air, and small-diameter wire?
It would.
And it does save a lot of time on scooters and motorcycles that have inexpensive, easily-purchased carburetors attached to them. That’s not the majority of bikes, just a tiny fraction of them. Unfortunately, I don’t have extra carburetors to test for the vast majority of machines, just Chinese made GY6-type scooters.
I buy them on eBay.
80cc+ QMB139/GY6 carb (NOT for 125/150cc machines)
Least expensive stock-type QMB139 carb on eBay
I still only “use” these new carburetors as a last resort. I would much, much rather clean the carburetor or carburetors you already have rather than sell you a new one.
When carburetors are largely unavailable, or prohibitively expensive, or even somewhat unreliably manufactured from the get-go, the right thing to do is to attempt cleaning the carburetor that was known to be good at some point, the carburetor that is already installed on the machine.
The only way to be sure that a carburetor is as clean as it can be is to clean it in an ultrasonic cleaner, using fresh solution.
The ultrasonic cleaning solution
- I use a 1:10 (or stronger, weaker) mix of Simple Green (or Purple Power, whichever is on sale) and distilled water.
- I degas the solution for 10 minutes before putting the parts in it for cleaning.
- I change the solution frequently, as soon as I see that it is dirty.
Purchasing an ultrasonic cleaner
I find the 10L size works well for my needs. Single carbs fit fine, and a rack of four carbs fits after the individual carbs are unganged.
10L ultrasonic cleaner on eBay
The 15L and larger sizes should work for most larger parts. If you need to clean parts like engine cases, you may need to purchase an even larger cleaner from a completely different source.
I find the inexpensive cleaners available on eBay work quite well for what I use them for, which is to occasionally clean stubborn carburetors and other filthy parts often found on old motorcycles.