Single-Cylinder Carburetor Cleaning
MOTO2N offers a variety of diagnostic and repair services for scooter, motorcycle, and ATV riders and enthusiasts.
I AM MOBILE, which means I come to you and repair/diagnose your bike on-the-spot. There’s no need to haul your bike anywhere or deal with less-than-friendly shop staff.
NOW OFFERING: Ultrasonic cleaning for carburetors and other small parts. I will take your carburetor with me and clean it using my ultrasonic cleaner, if necessary.
Appointments are available 7-days-a-week, sunrise to sunset.
To schedule an appointment, BOOK ONLINE or try calling (720) 634-6935.
Carburetors become “dirty” after they sit for a while with gas in them. What happens is the ethanol that’s in today’s “high tech” gasoline turns into a gelatinous mess inside the carburetor’s float bowl, thus fouling the pilot jet and the other tiny orifices that allow the carb to deliver a perfectly mixed air/fuel charge to the engine.
Symptoms of a dirty carburetor
- Bike starts on the choke, warms up, idles, but dies as soon as you shut the choke off.
- Bike only starts on carburetor cleaner.
There are other symptoms, but these are the most obvious.
How to clean a dirty carburetor
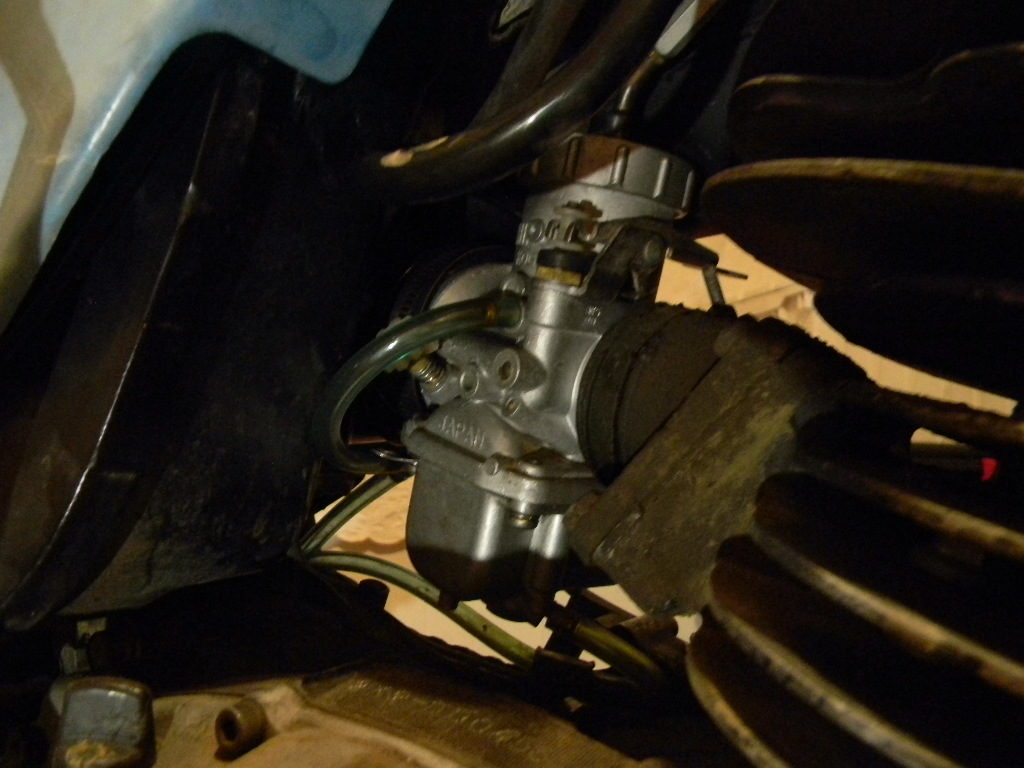
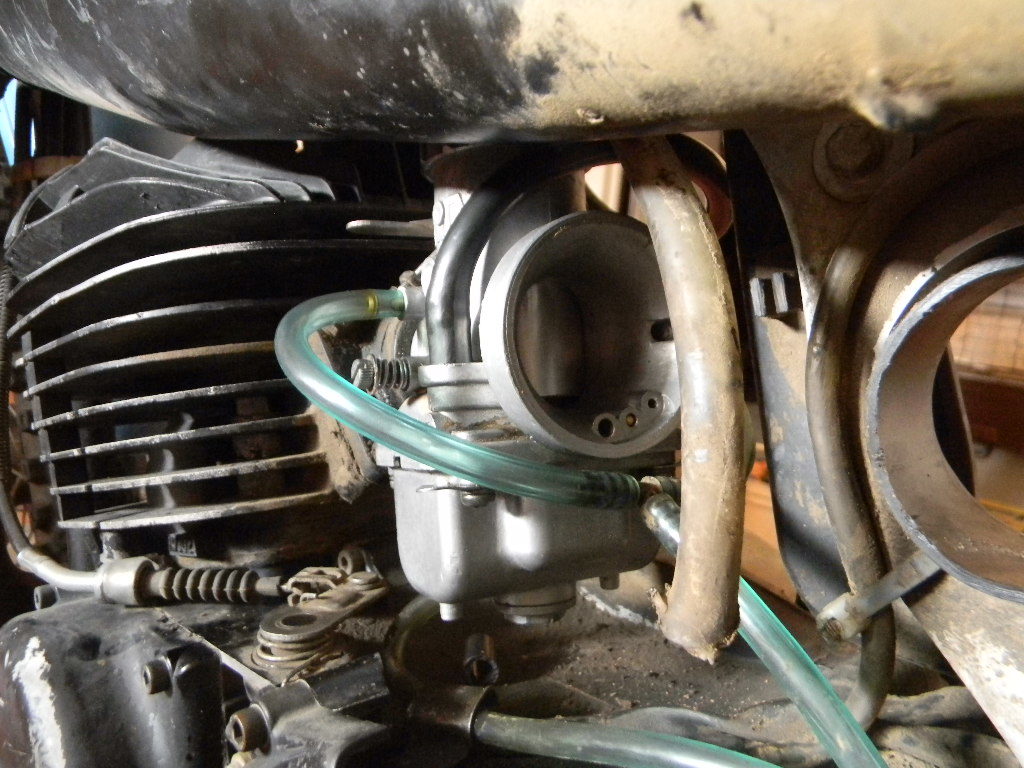
The bike in the pics is a ’78 Yamaha IT250. It has a mechanical round slide Mikuni carb.
Note that your carb may look significantly different.
1. Set the petcock to “off.” Double check that the throttle returns without hanging up
2. Remove the carburetor from the motorcycle
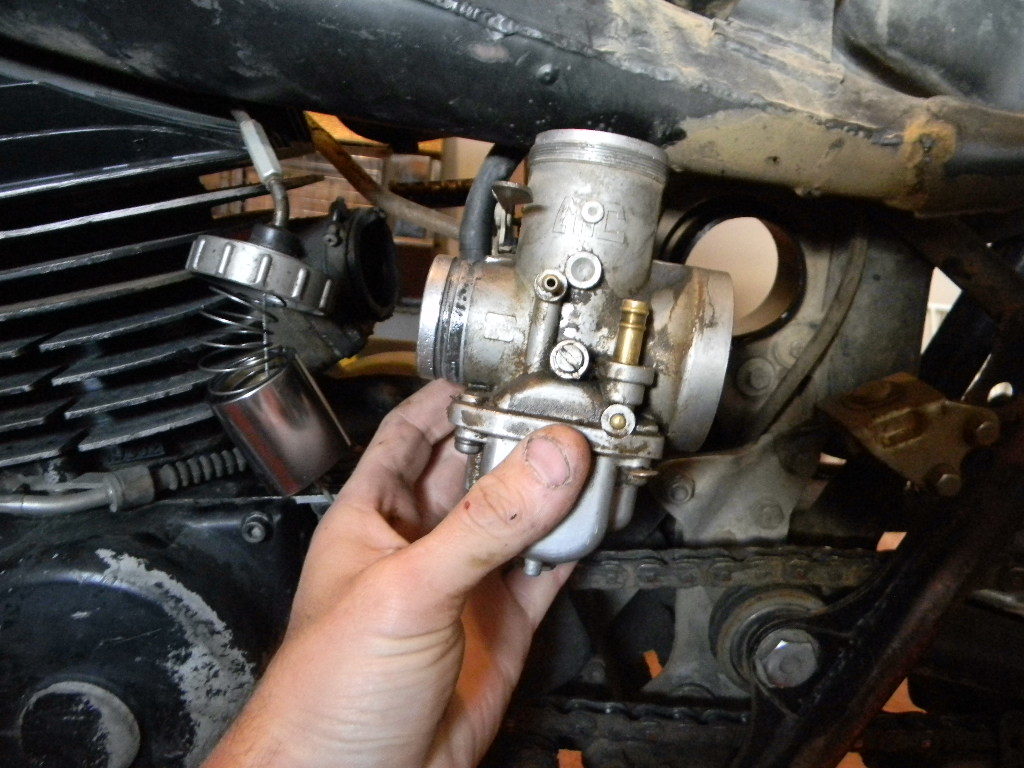
- Disconnect fuel line.
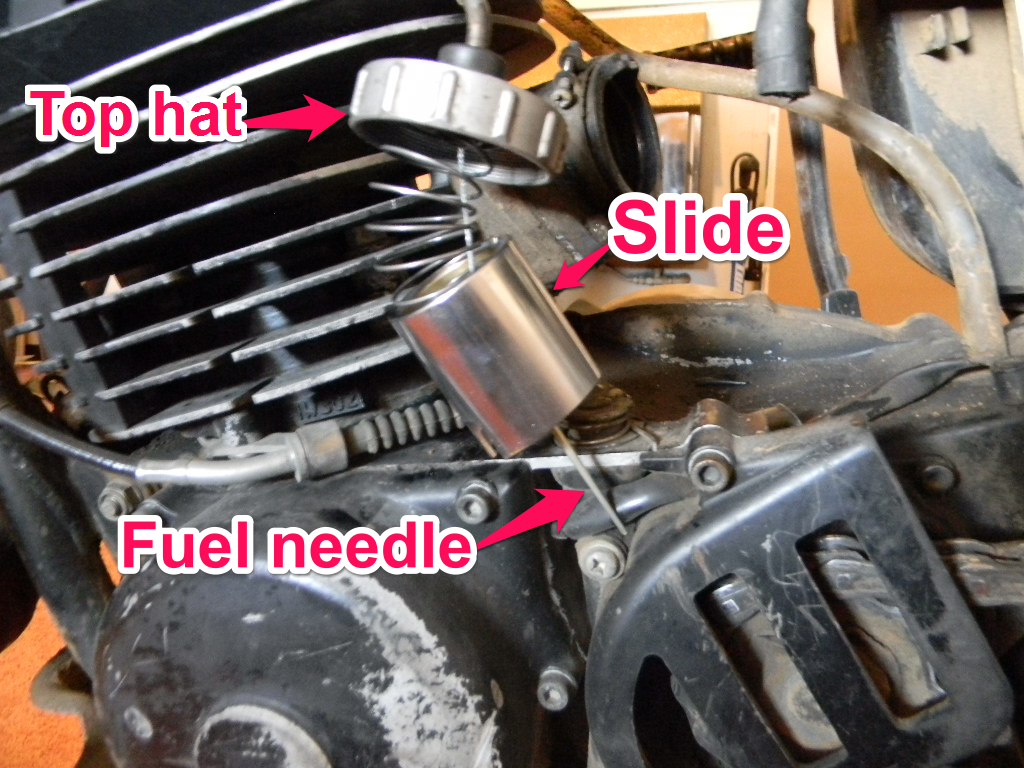
- Unscrew top hat and remove the slide.
- Allow the slide to rest in a safe position.
3. Disassemble the carburetor
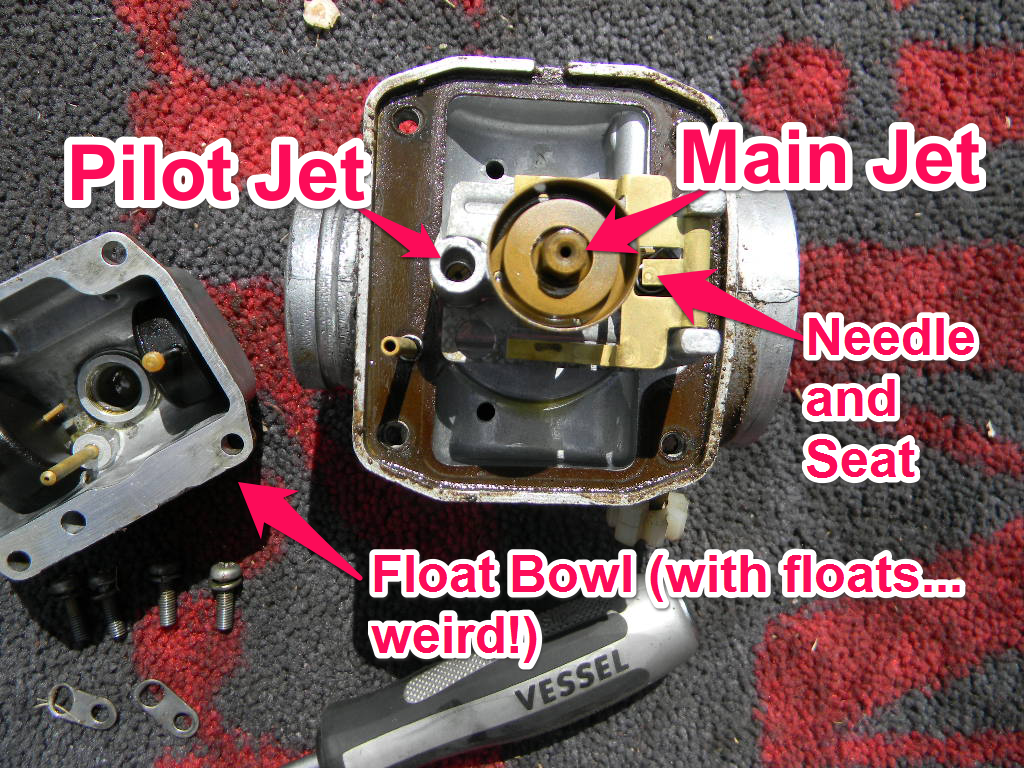
- Remove the float bowl.
- Remove the float, or floats, if possible/necessary.
- Remove the needle.
- Remove the jets. Chances are your pilot jet, the small one, is clogged.
4. Clean out the jets, paying special attention to the pilot jet
- Use carburetor cleaner and a small piece of wire. Work the wire through the jets.
- Clean all parts in an ultrasonic cleaner, if available. Note that 90% of the time ultrasonic cleaning is NOT necessary.
- Click here to read more about ultrasonic cleaning.
- Blow out all holes and orifices using compressed air.
5. Check the fuel needle for wear
6. Reassemble the carburetor
- O-rings and gaskets can be “brought back” by massaging them with 2T oil.
- Replace all broken or worn o-rings and gaskets.
7. Use a test bottle to ensure the needle and seat work properly

- If the carburetor leaks, disassemble the carburetor and remove the needle from the seat.
- Let the needle soak in 2T oil.
- Polish the seat using lapping compound on a q-tip, placed in a drill. Be gentle.
8. Re-install the carburetor on the motorcycle
- Triple check the throttle to make sure nothing hangs up.
- Visually inspect the slide to ensure it is all the way down, resting against the idle screw.
9. Inspect and replace worn fuel lines
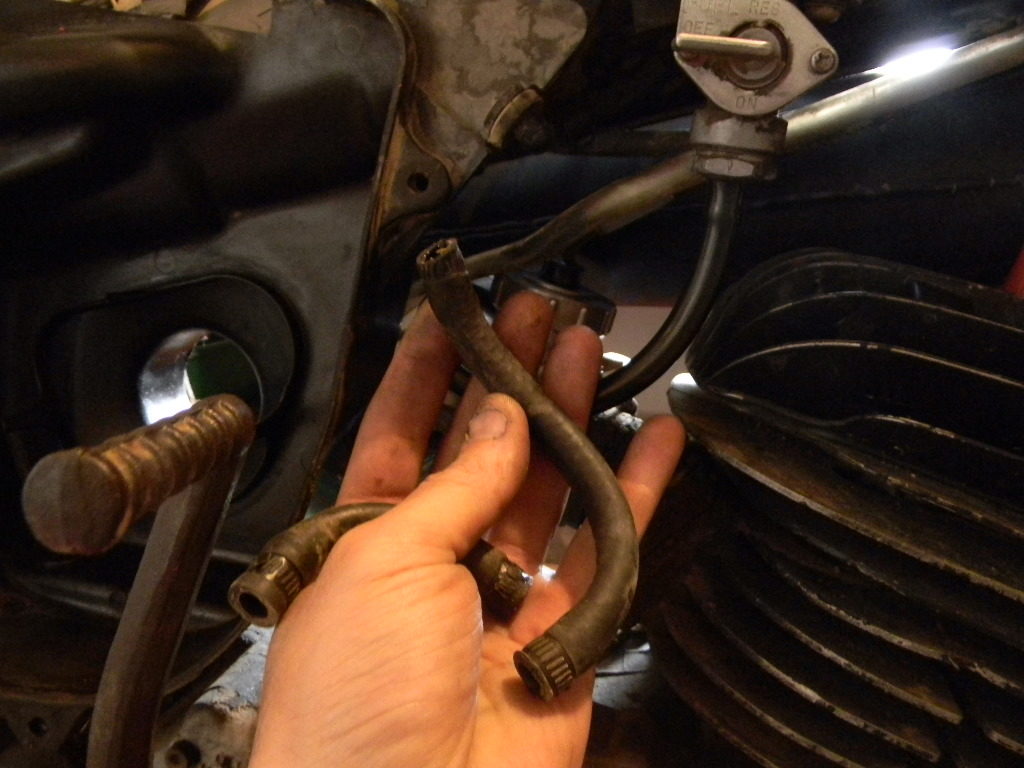
- Use Helix line. I keep most sizes in stock, but so does Action Cycle in Colorado Springs and Performance Cycle in Denver.
MOTO2N is a MOBILE service, which means I come to you and repair your bike on-the-spot.
If we need parts to complete the job, I will order them and call you to schedule a second visit after they arrive.
Appointments are available 7-days-a-week, sunrise to sunset.
To schedule an appointment, please BOOK ONLINE or try calling (720) 634-6935.
For more information on the services I offer, click one of these links: